Makeupwalldecor
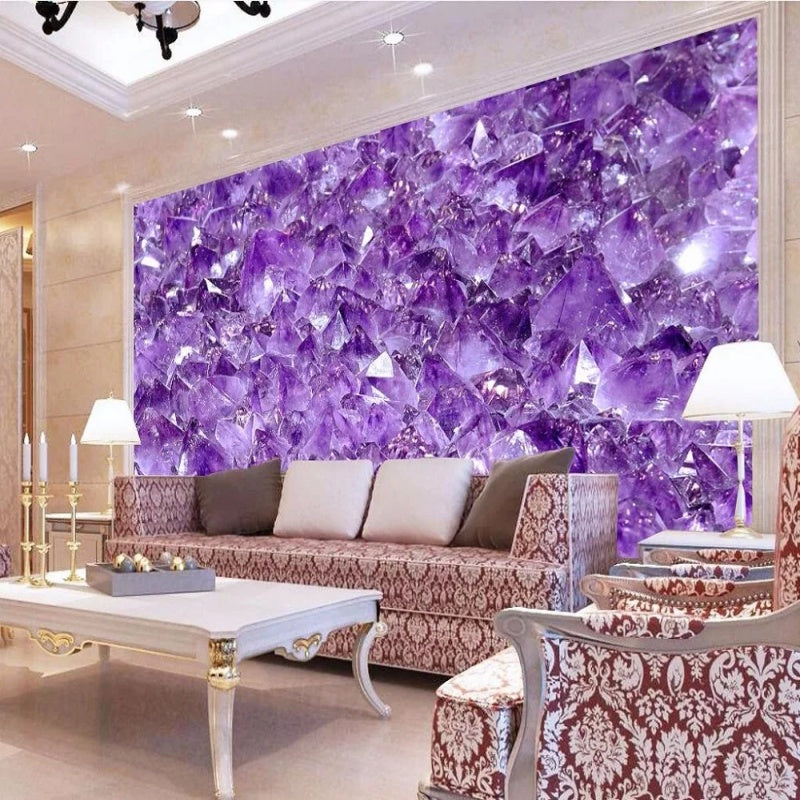
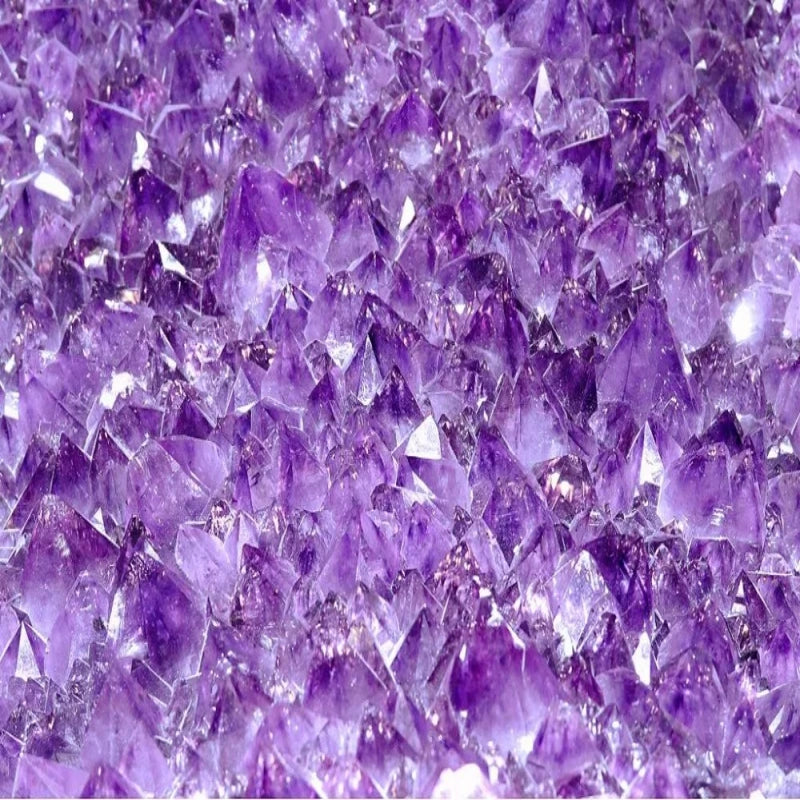
3D Amethyst Stone Crystal Jewelry Wallpaper Wall Mural Home Decor
3D Amethyst Stone Crystal Jewelry Wallpaper Wall Mural Home Decor
Couldn't load pickup availability
Please contact the Email: makeupwalldecor@outlook.com for any questions.
♥The price sells $25 per square meter. Please write your own width and height in the part "customize your product" and it will show the correct price.
♥Install Non-woven Paper
1.Prepare tools and clean the wall and confirm that the wall is clean and flat. For concavo-convex place, level off it with tools or fill it with materilal.
2.Lay wallpaper down on the flat surface and then check the quality, size and whether the wallpaper is complete.
3.Confirm the sequence of wallpaper. Mark vertical lines on the wall according to the each size of the panel.(Note: Splicing place have overlap of 1cm)
4.Brush glue on wall or back of wallpaper and align the first mural to the chalk line and paste it.(Note: please leave 1-2cm for the top and bottom of the panel)
5.Level off surface of mural with a scraper, cut out the excess part with a knife and clean overflow glue with a sponge. Donot touch surface of mural with glue glue and avoid filth of mural.
6.Align the second mural with the first mural installed on the wall and then cut out overlap of two panels with knife and ruler. Peel off cut part and then level off surface of the mural with scraper.
7.For the switch, cut a cross shape on the switch place. Donot exceed the size of switch, cut the spare part around switch. Then level off surface of mural with scraper. 8.Install all the panels and then wait 3-4 days for dry.
♥Install Peel and stick
How to apply the Peel & Stick wallpaper in 6 Easy Steps:
We always recommend a professional to apply the wallpaper.
Self Adhesive 260g is designed to provide the end-user with a cost-effective and more environmentally sustainable option for peel-and-stick wall decoration. This wallpaper is FSC certified and incorporates a blend of virgin and 20% post-consumer waste (PCW) fiber into a durable non-woven fabric combined with a virtually odorless water based Pressure Sensitive Microsphere Adhesive. This product is designed to work on most clean, dry, and sealed surfaces allowing for rapid edge-to-edge (butt seamed) installation and easy removal.First check if the material is received in good order and has not been damaged.
Make sure that walls and/or boards are smooth, solid, dry and free of mold or algae
Leave approx. 2.5 cm extra at the ceiling and skirting board
Remove all old wallpaper, paint or whitewash, traces of inks or crayon.If installing over existing paint or primer, make sure that the paint or primer has good adhesion to the drywall surface. If freshly painted, make sure to allow at least 30 days for the paint to cure completely to the wall.Any wall irregularities should be corrected with either spackling or drywall compound then primed and sealed before application of wallcovering.
– Measure tape
– Pencil
– Stanley / craft knife
– Spirit level
– Soft brush
– Plastic smoother
– Seam roler
– Straight edge ruler
Brush off area to be covered to remove all dirt and loose material. Any holes, cracks or defects in the surface should be filled with a good quality filler, smoothed out and allowed to dry.
Unroll the wallpaper and separate the panels. Measure the width of the rolls and mark the width of the roll on the wall. Lay out panel on the floor, and arrange in hanging order on the floor. Mark the overlap with a pencil.
Turn over the first panel and peel about 30cm (12in) of the backing away from the paper.
Apply the paper to the top of the wall, allowing a bit of excess to overlap the ceiling which will be trimmed off later. Align the side of the strip to your mark and lightly press the edge to the wall along the mark. You can reposition if needed to ensure a vertical seam.Important: Be careful not to pull or stretch the material or the pattern will not align. Working from top to bottom, pull the backing away as you evenly press the paper to the wall. Do not force, let gravity assist you.For best results, have one person guide the paper at the top and along the seam, while another holds the opposite edge away from the wall until the seams are lined up.Using a plastic smoother, work your way down the panel in a back and forth motion, smoothing the material to the wall and pushing out any air bubbles.
Now you can repeat steps 3 and 4 for the second panel. Remember the panels are printed in order to overlap 2,5cm (0,98in)! Repeat procedure visually matching the image and adjust the position until the pattern completely matches.
If you want to remove the overlap, cut away any excess paper using a knife (sharp blade) or cutter and a straight edge. Make sure the product is well bonded at the join.
Repeat steps and once all is done, trim off excess material at ceiling and baseboard with a straight edge and sharp razor knife.
Now sit back and enjoy your wallpaper and handiwork !
♥The difference between non-woven paper and peel and stick
1. Non-woven paper which is a whole piece that cut in several panels and there are about 2-3cm overlap of each panel, you need to cut that 2-3 overlap after install all panels on the wall. It needs to use glue.
2. Peel and stick is also come in several panels and it has glue by itself but it can only use to painted and even wall or glass surface and cannot use to dusty or textured wall. ♥ If you have any question, please feel free to contact me.
♥Return Policy:
Our primary focus is ensuring our customers are delighted with the designs and products we create. However, we get it -sometimes things don't work out. If, for any reason, you are not happy with the wallpaper you've purchased, no worries, you can ship it back to us and give you a full refund.
We've got a full-on 7-day return policy of receiving your parcel. No need to stress or worry, our aim is to maintain a positive and hassle-free experience for all our customers. If you decide to return your purchase, simply reach out to us. We are dedicated to sustainability, so any products returned to us will be recycled. It's a straightforward and eco-friendly process - easy as can be!
♥Enjoy Happy Shopping Here♥
Share